Rustic Bathroom Update - Peel and Stick Wallpaper DIY
With her entryway makeover under her belt, Michele from Our Uncluttered House turned her attention to a modern, rustic bathroom update. Keep reading to discover how she turned the space around with peel and stick wallpaper.
Michele's Rustic Bathroom Update
When I started working on the design process for this bathroom, I knew I wanted an accent wall. I wanted it to be my starting point for the entire makeover. While I do like a nice shiplap wall, I don’t like to just follow the crowd. I like to be a little bit different and do my own thing.

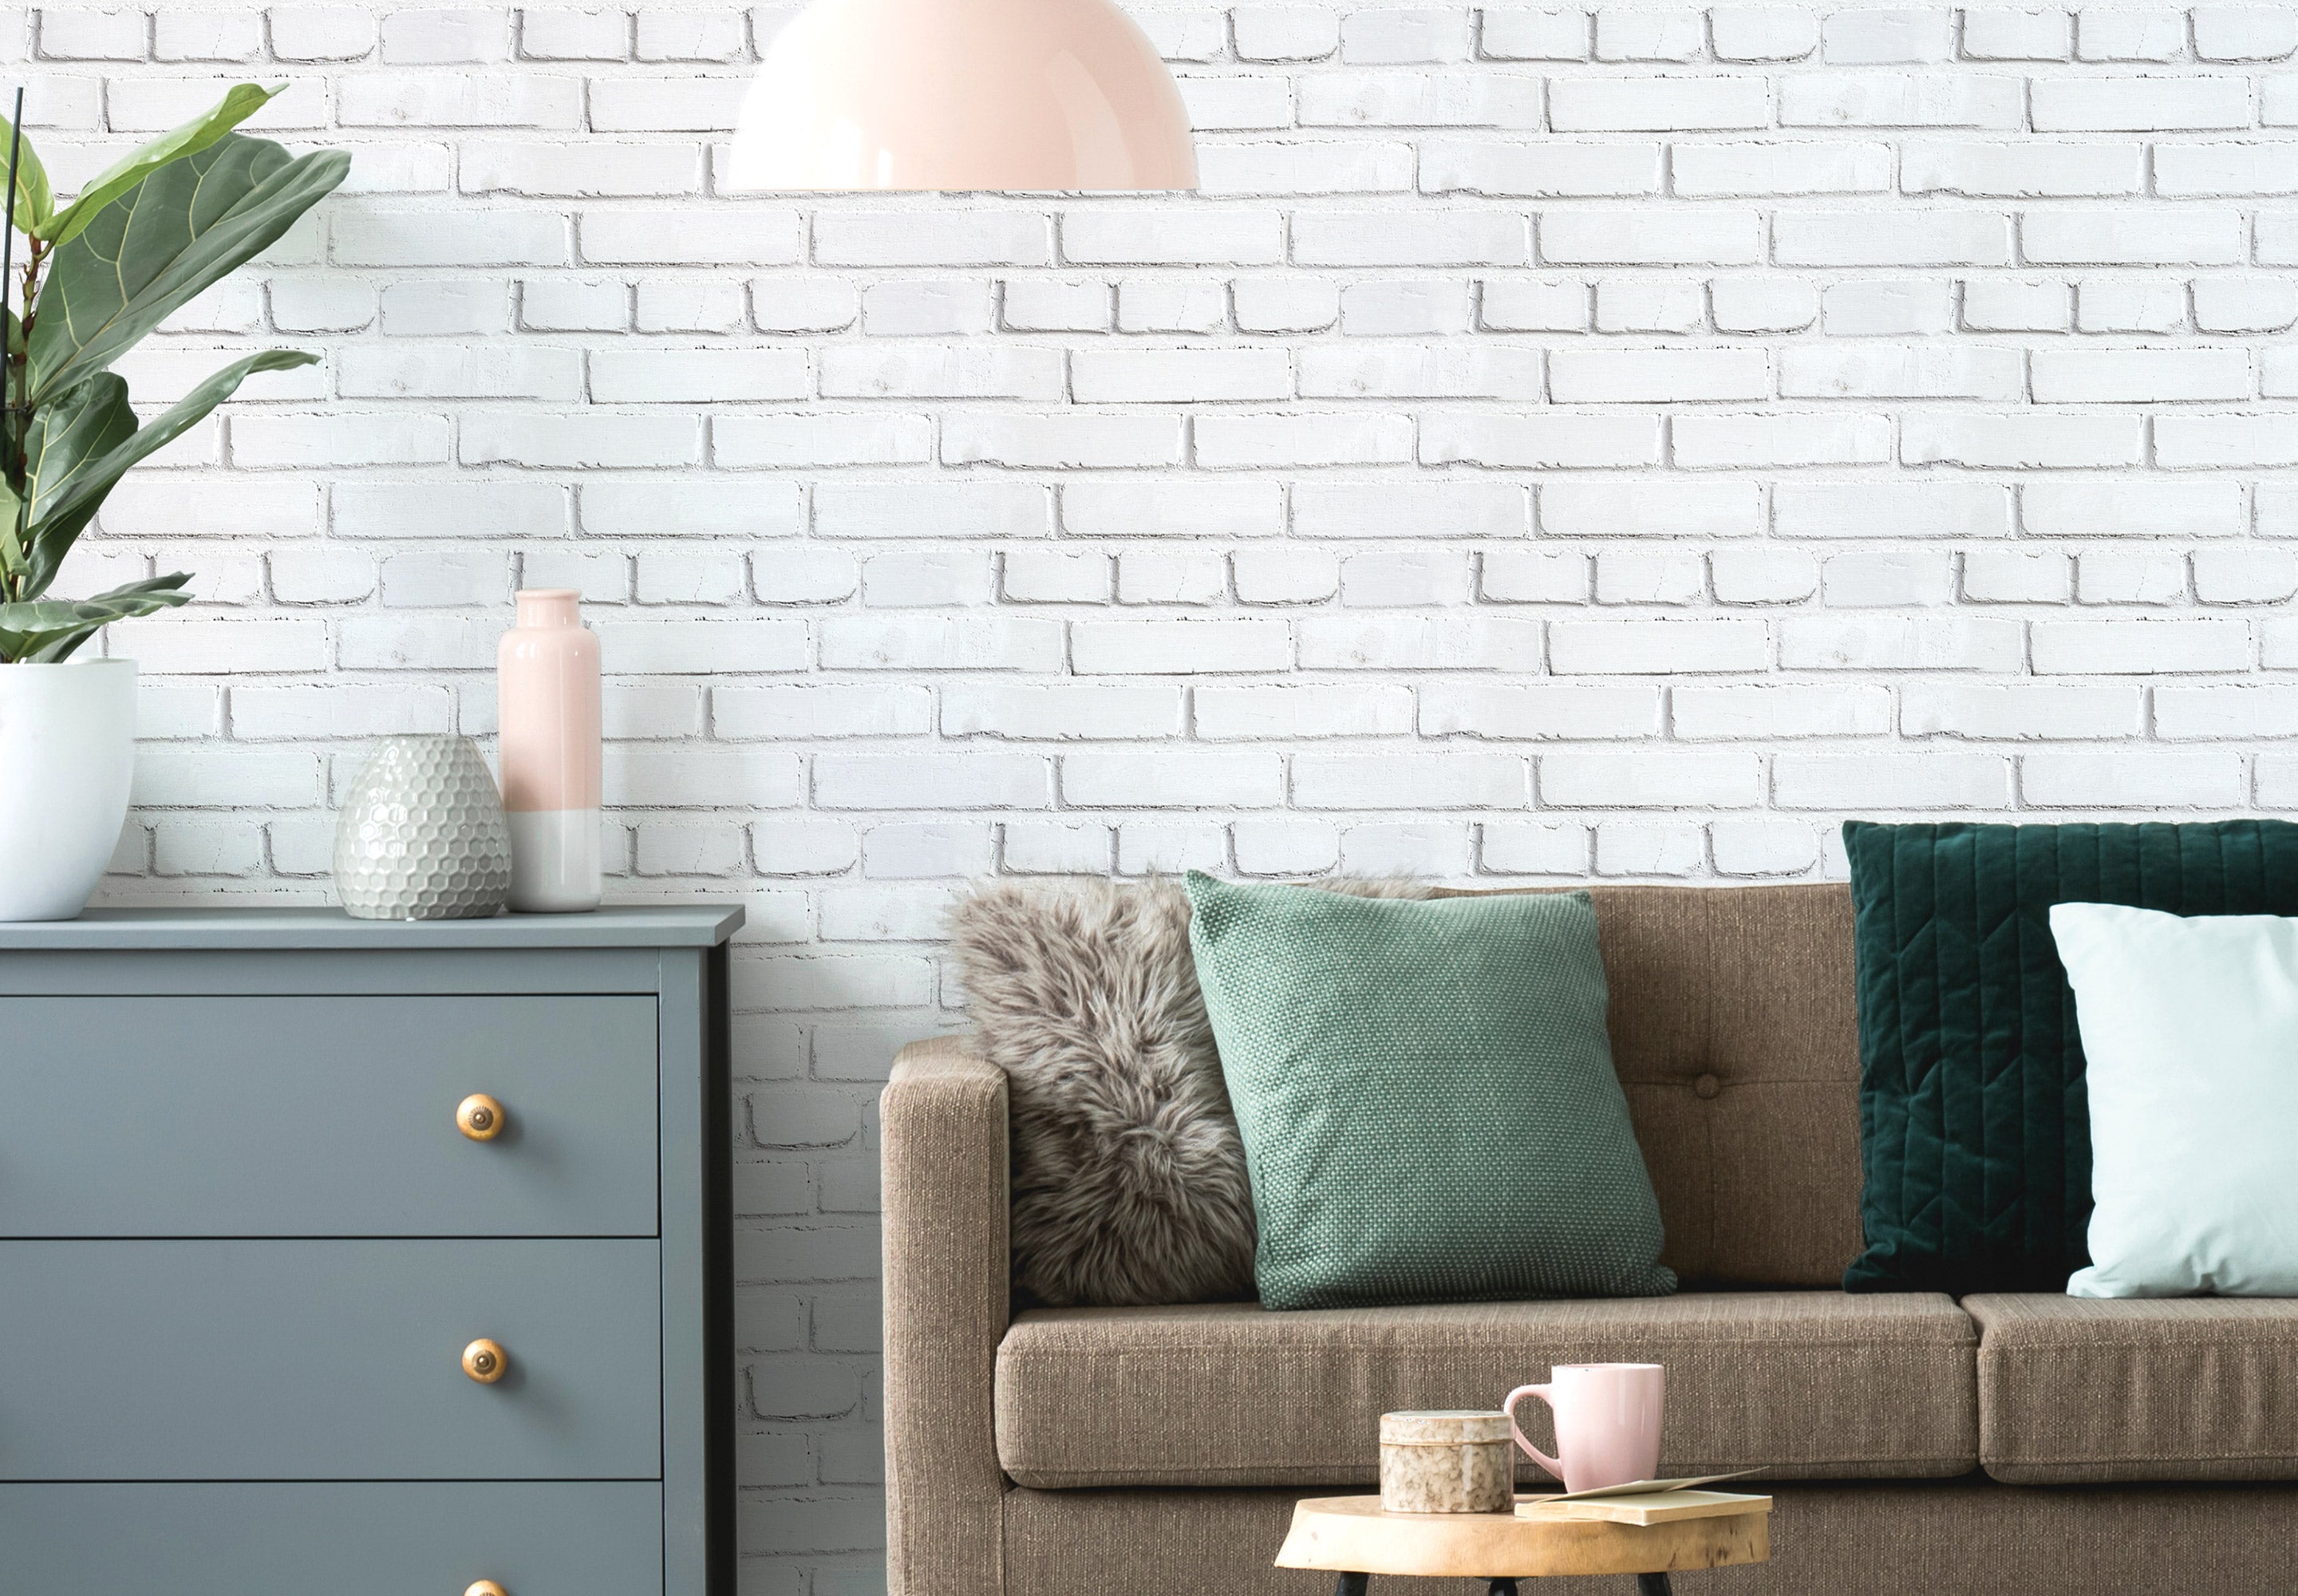
After using RoomMates Peel and Stick Wallpaper recently on another big project, I automatically headed to their website and found this beautiful Distressed Wood Peel & Stick Wallpaper pattern that I immediately fell in love with. It is perfect for this rustic bathroom update.
We recreated a shiplap look by hanging this distressed wood pattern horizontally.
I knew as soon as I saw it we would hang it horizontally instead of vertically to give the space a “shiplap” look without the shiplap. We knew what we were doing (having used this wallpaper in the past), but we had never hung it horizontally before. The hardest part is hanging your first piece, making sure it’s level, hanging it horizontally definitely requires an extra pair of hands.

To finish off this thrifty bathroom makeover, I painted the existing vanity in a beautiful bright blue. We replaced the old countertop and sink with this poly-marble all in one sink/countertop combo. I purchased it with a gift card I won a while back.
We kept this rustic bathroom update affordable by using products that we already had on hand.
The vinyl plank flooring was leftover from a previous DIY. Doesn’t it look amazing and tie in beautifully with the rustic vibes of the wallpaper? It really grounds the rustic bathroom look.

Our local home improvement store provided the new light fixture and faucet. All the old hardware, vents, etc. were spray painted black to tie in with the new look of the bathroom. The open shelving and towel rack were made by me with scrap wood. All the decor pieces came from other rooms in our home. We did purchase a new toilet at a local warehouse so the grand total of this thrifty bathroom makeover was $150!

Follow Michelle on her Blog, Instagram, and Facebook to keep up with all her exciting home improvement and DIY projects.
Follow RoomMates on Facebook, Pinterest, and Instagram to see more great projects like this.

