Create A Frozen Fantasyland with our Disney Frozen Border!
Today we are going to show you how to install your own bit of Frozen fun! Transform a Frozen bedroom (or any space) with ease by applying this easy no hassle peel and stick border that can be removed, repositioned, and reused effortlessly time and time again. Keep reading to see how it’s done!
How To Hang Our Disney Frozen Wall Border
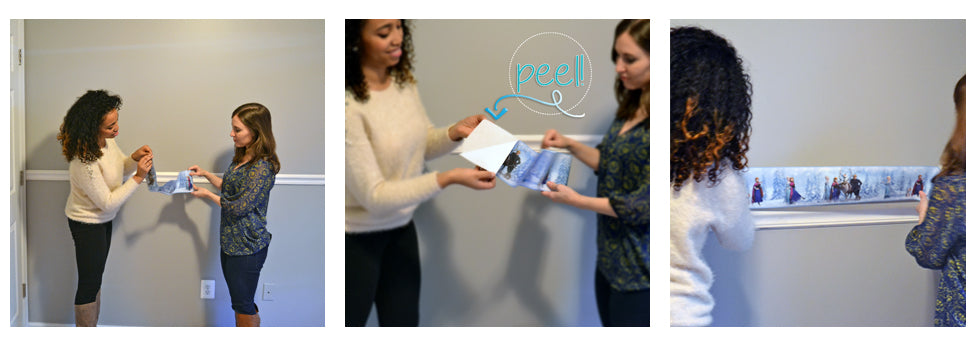
To begin, remove your Frozen border from its packaging and unroll the magic! It is helpful to peel only a little bit of the backing off at a time as you smooth your border onto any smooth flat surface. We recommend having a friend assist.
Begin at the edge of your surface and peel and smooth as you go. Don’t worry if you need to readjust along the way. This border is 100% removable, repositionable, and can be moved from wall to wall with no mess or no damage left behind on your walls.
Keep smoothing your Frozen border into place until you hit the edge of your wall or surface. From here, you can measure and cut your border to fit. Then onto the next wall!
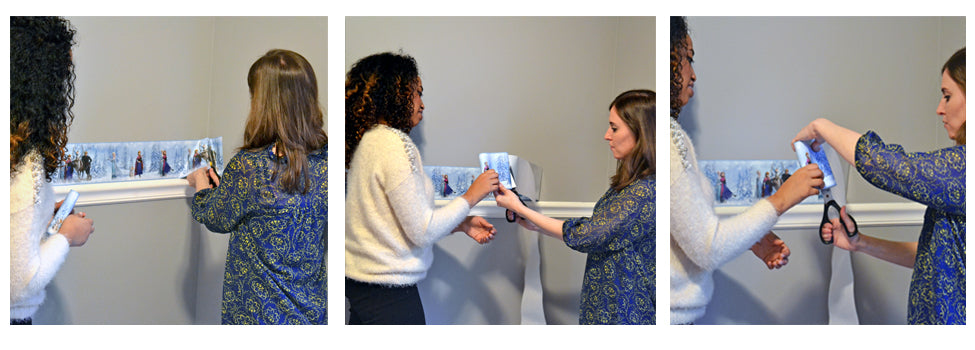
Repeat this process until your Frozen room makeover is complete!
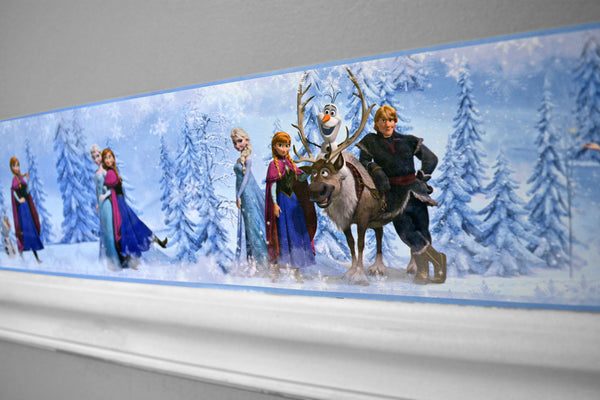
Determining How Much Frozen Wall Border You Need For Your Wall
Each Frozen removable wall border is five inches high and five yards high, allowing you to fit to the length of your wall. To determine the amount of border needed, measure your entire room. If your total wall length is 9 yards long, then you would need two Frozen wall borders!
The fun doesn’t have to end there!
Complete your Frozen fantasyland with the addition of your favorite Frozen characters. To access our entire Disney Frozen collection! We picked out a few of our favorites below.
Add Elsa to your wall with her sparkly dress and elegant charm. Shop this Elsa Giant Wall Decal!
Watch the excitement grow on your child’s face as they measure up with their own Frozen Growth Chart decal! This is a great way to inspire your children to measure their progress and learn a little bit of math along the way. Get your own Frozen Growth Chart!
