How to Install Peel and Stick Wallpaper
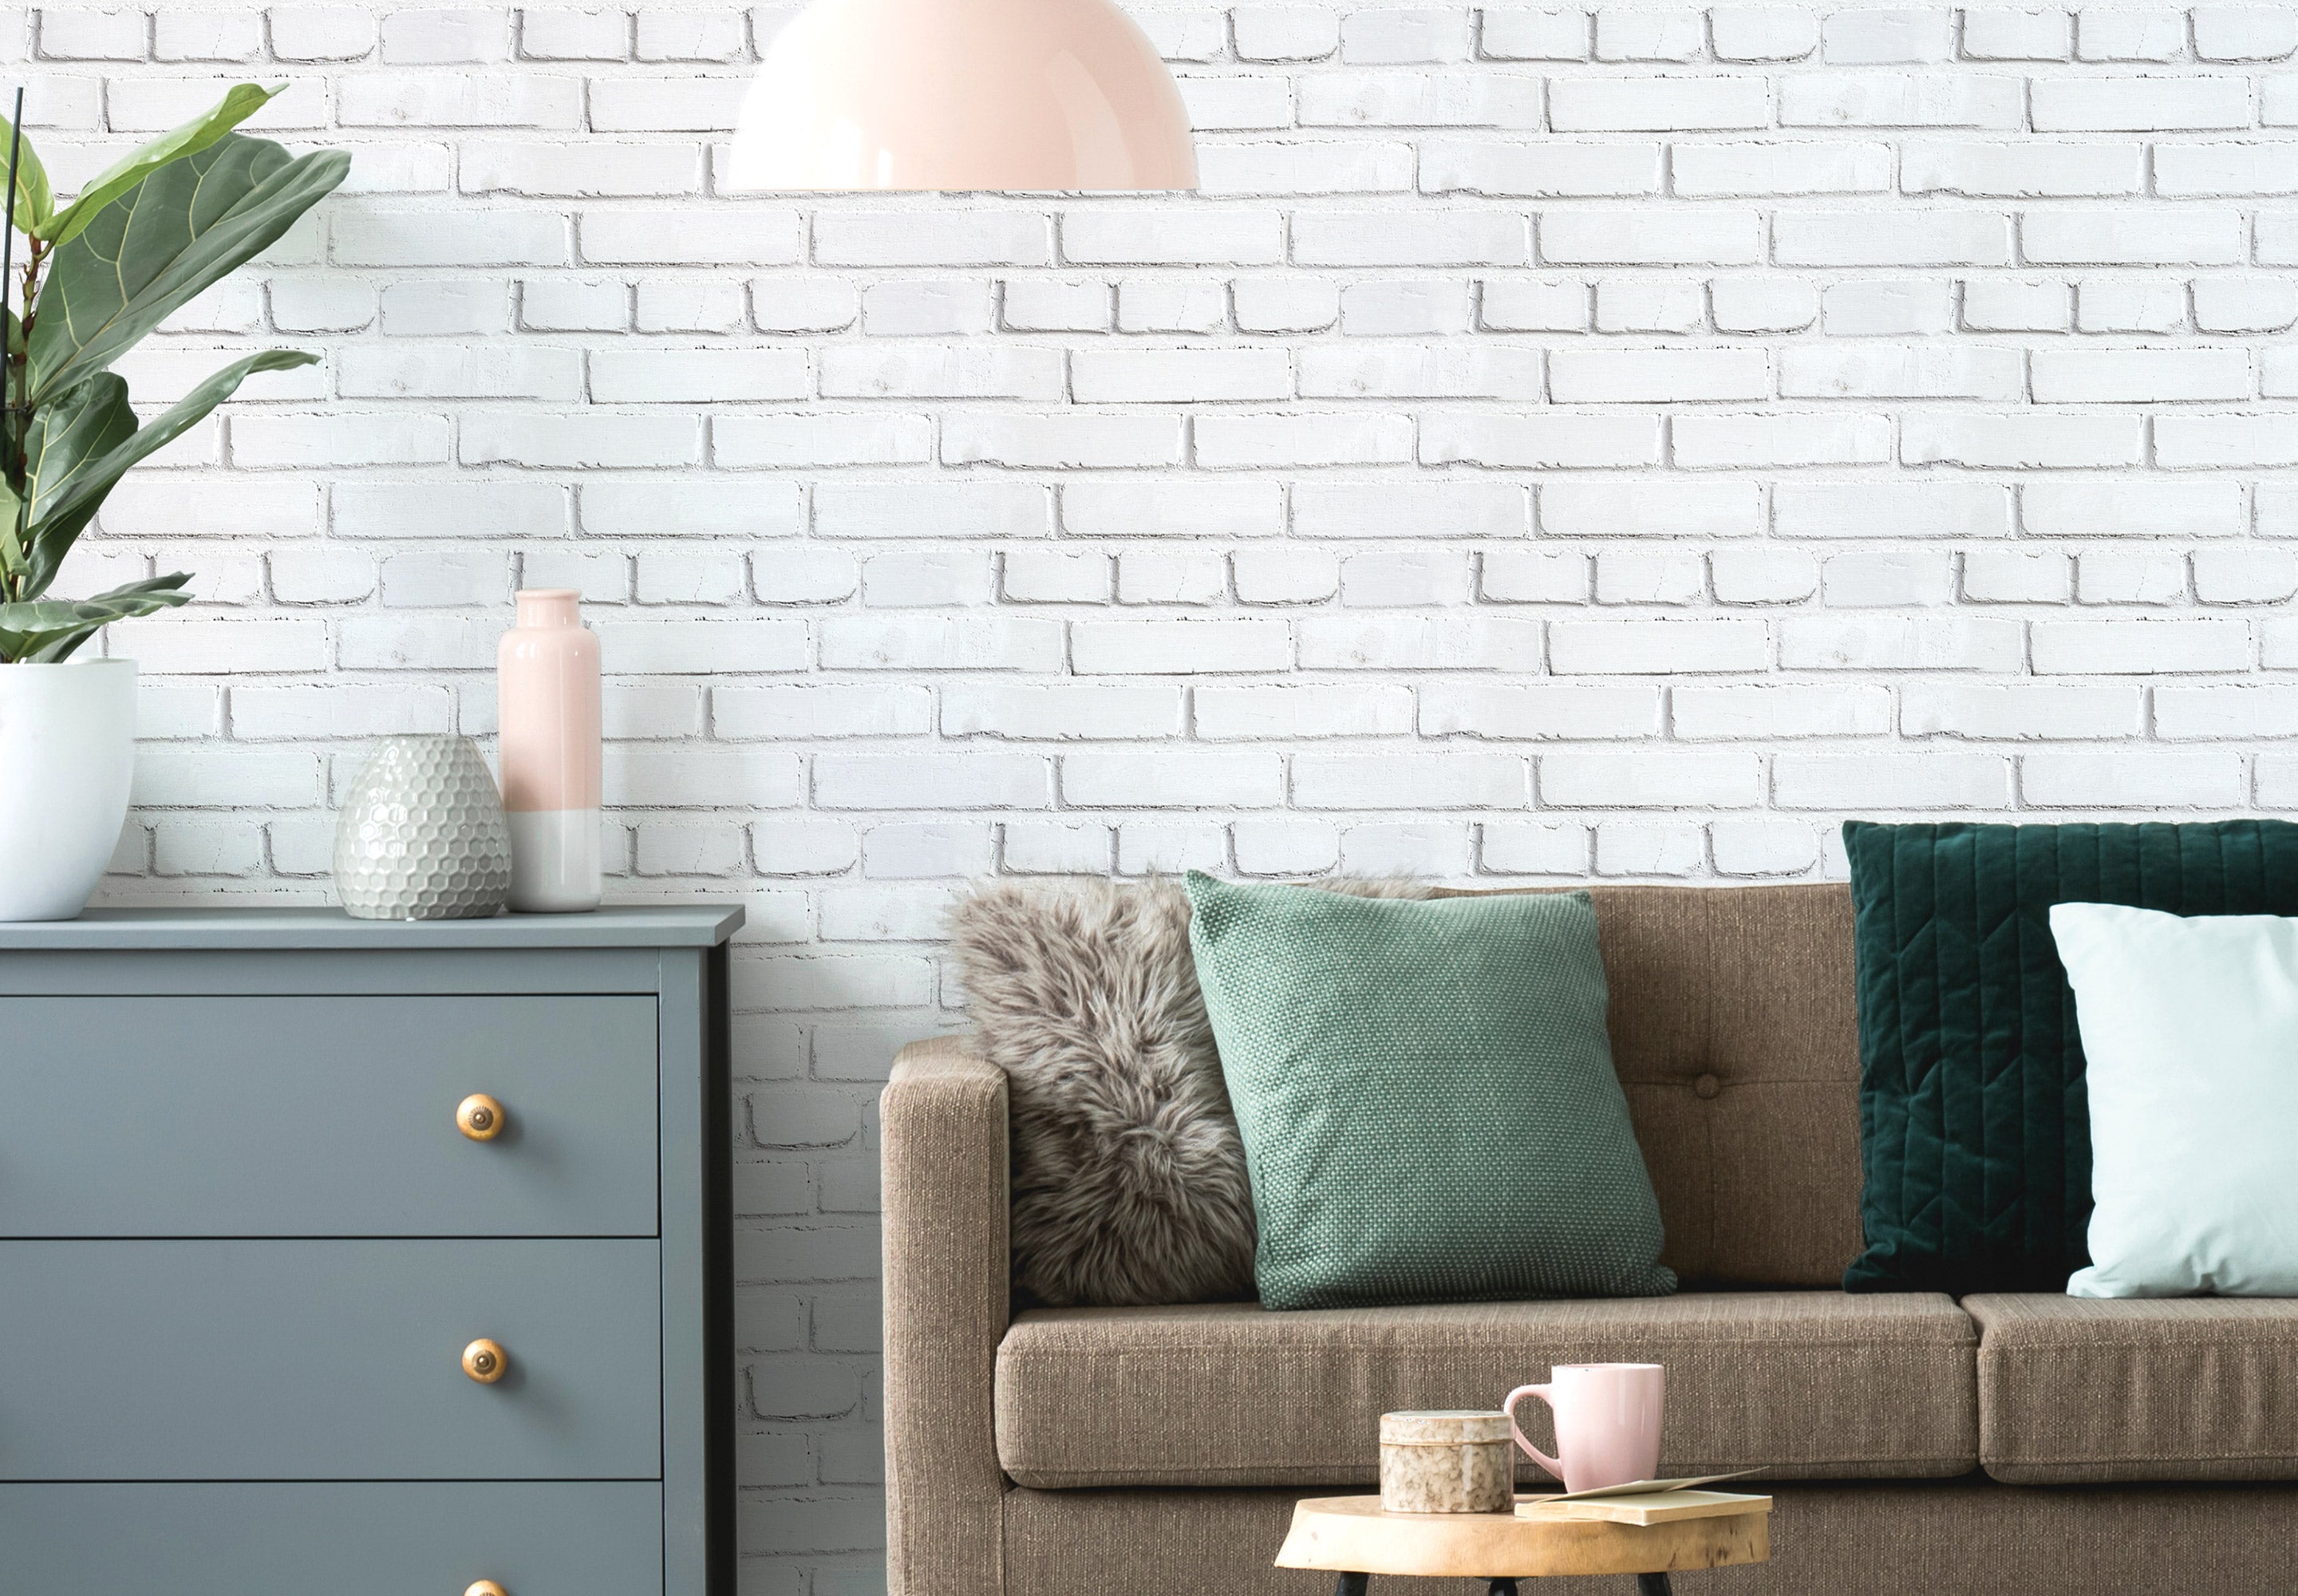
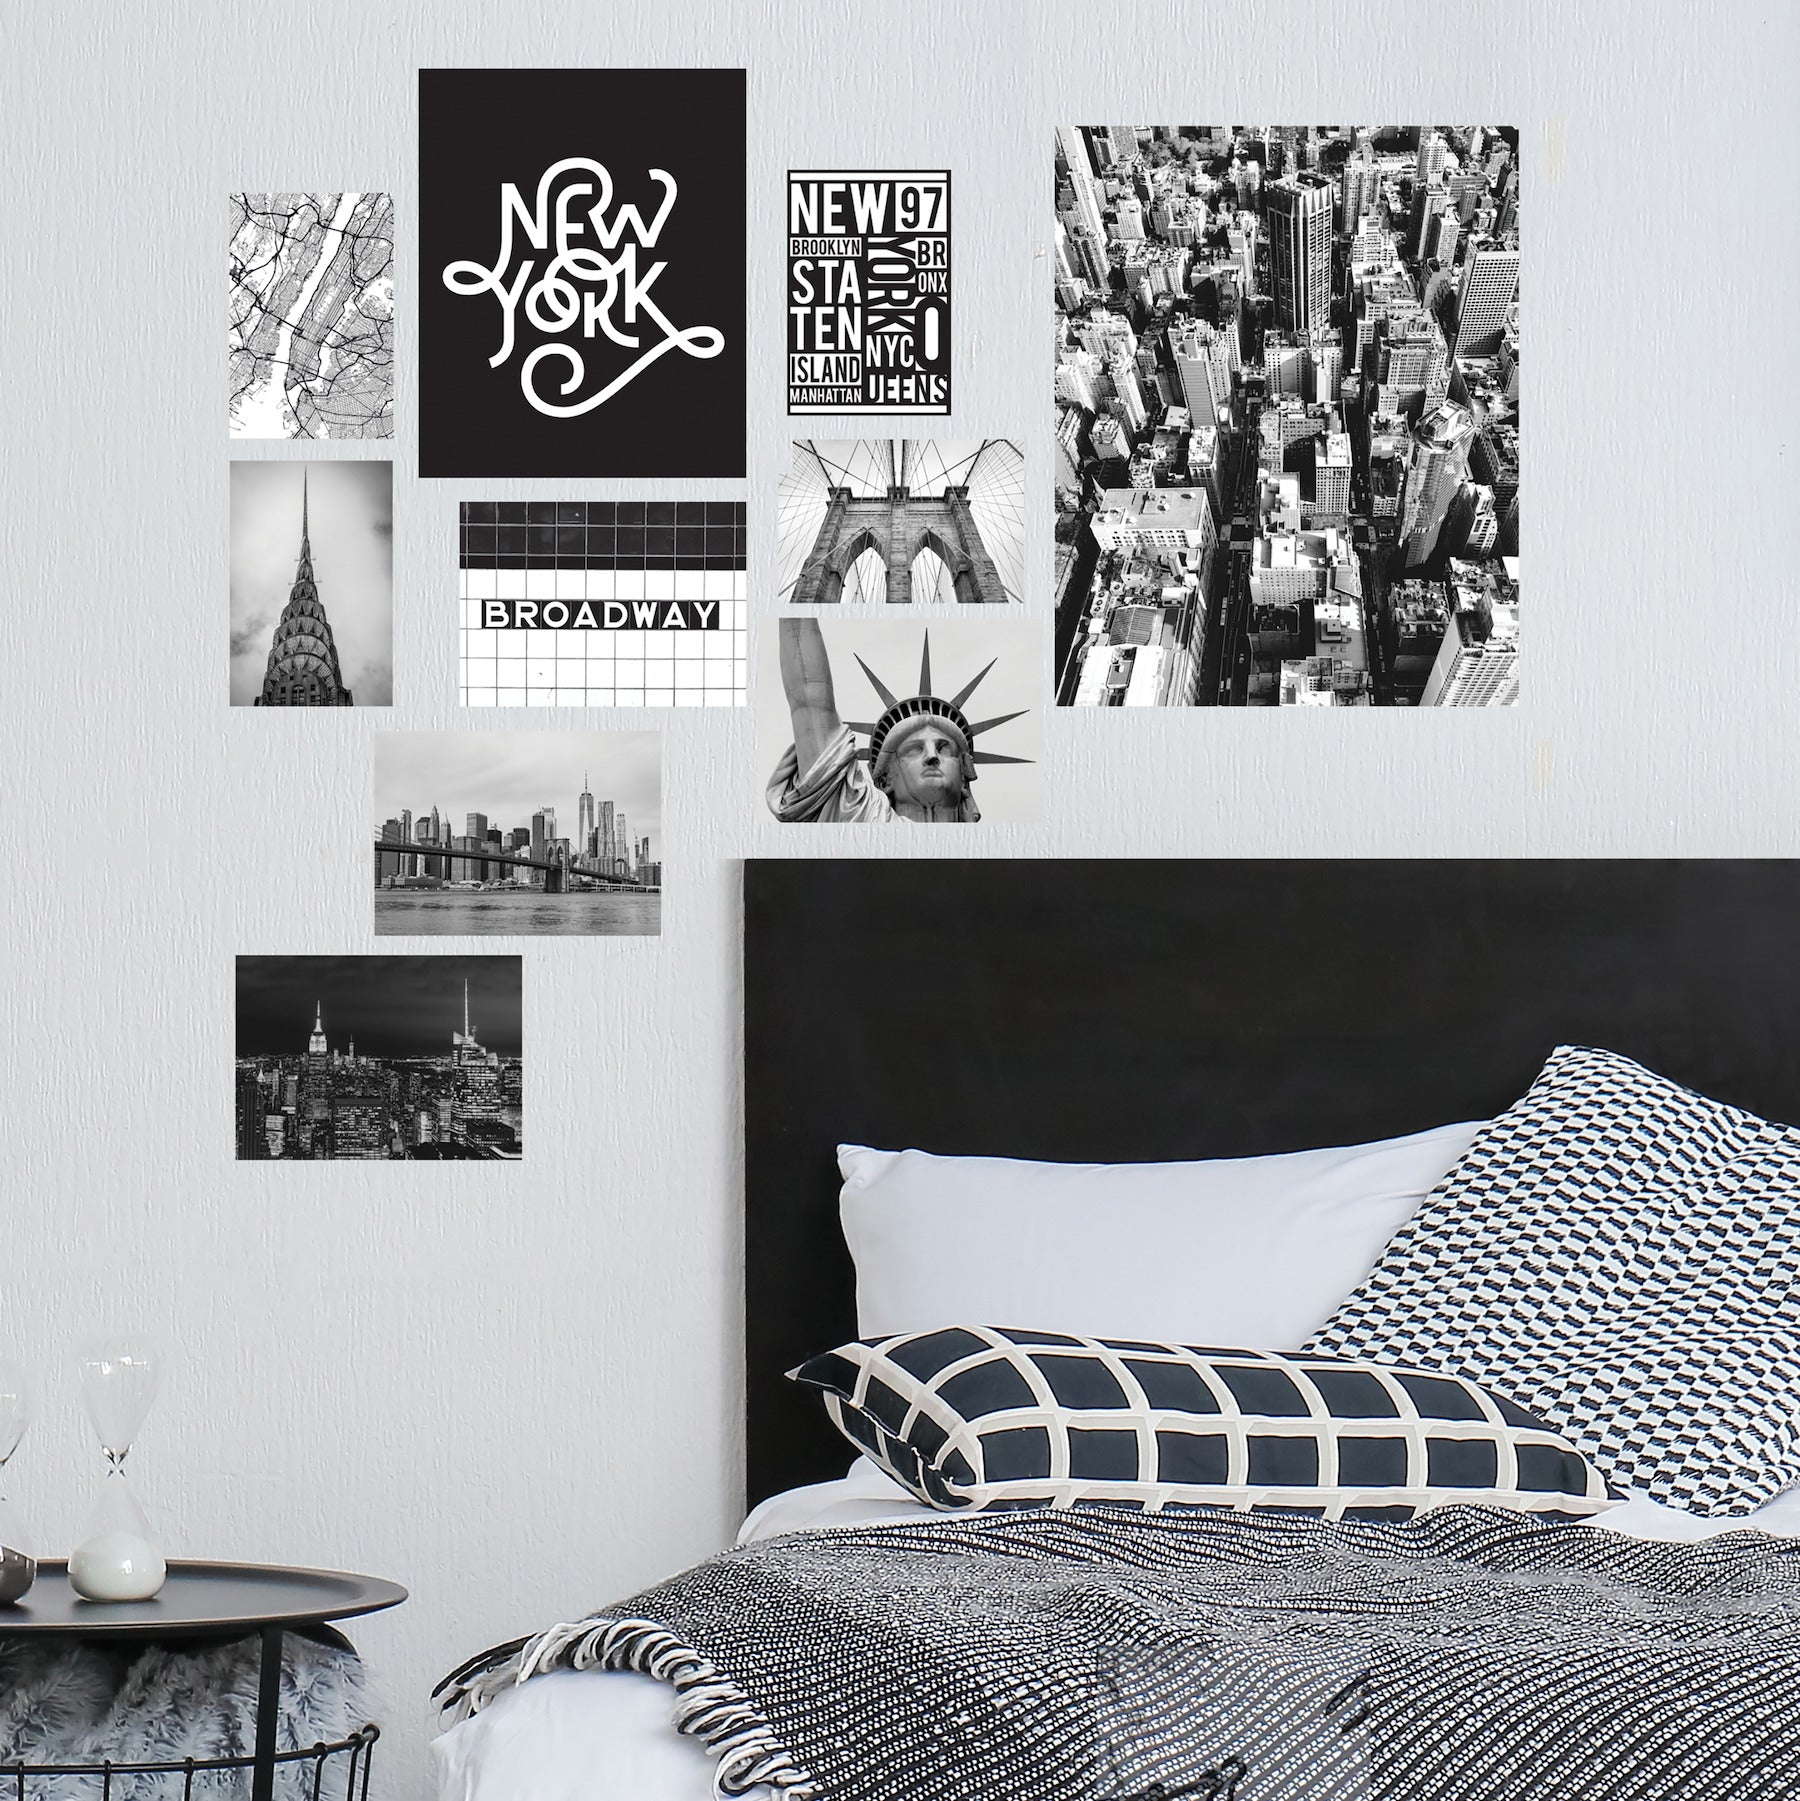
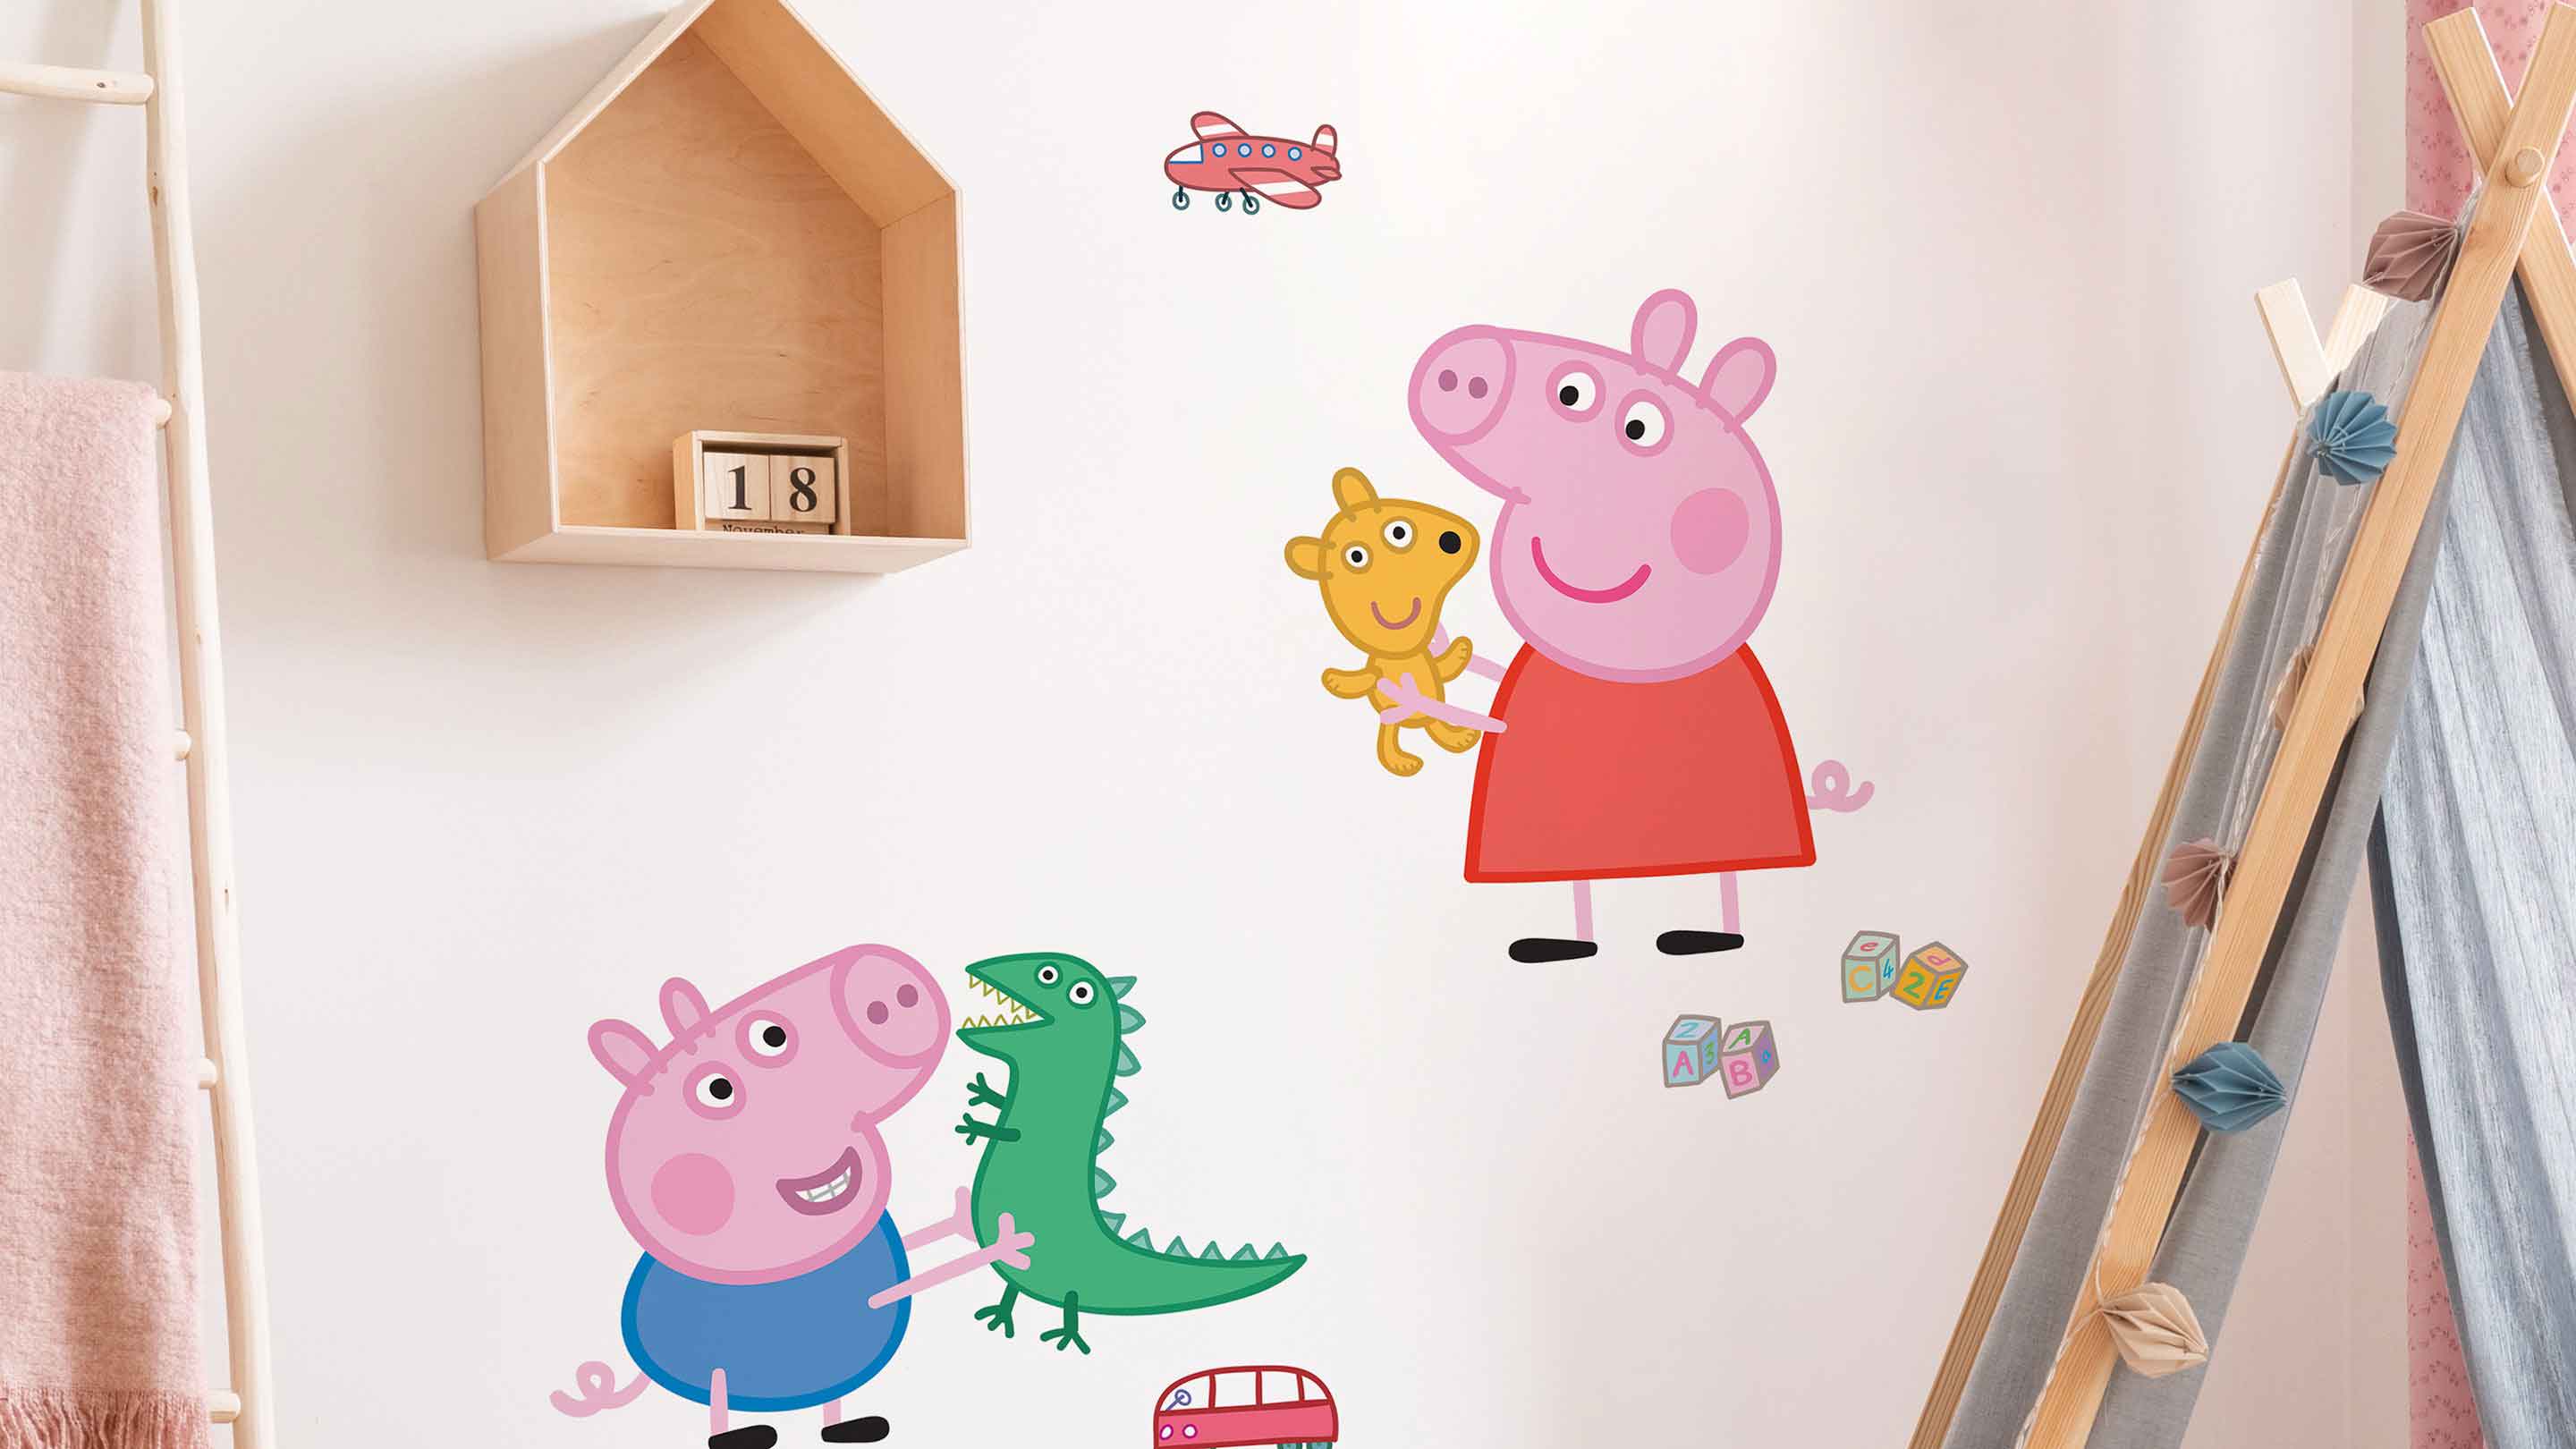
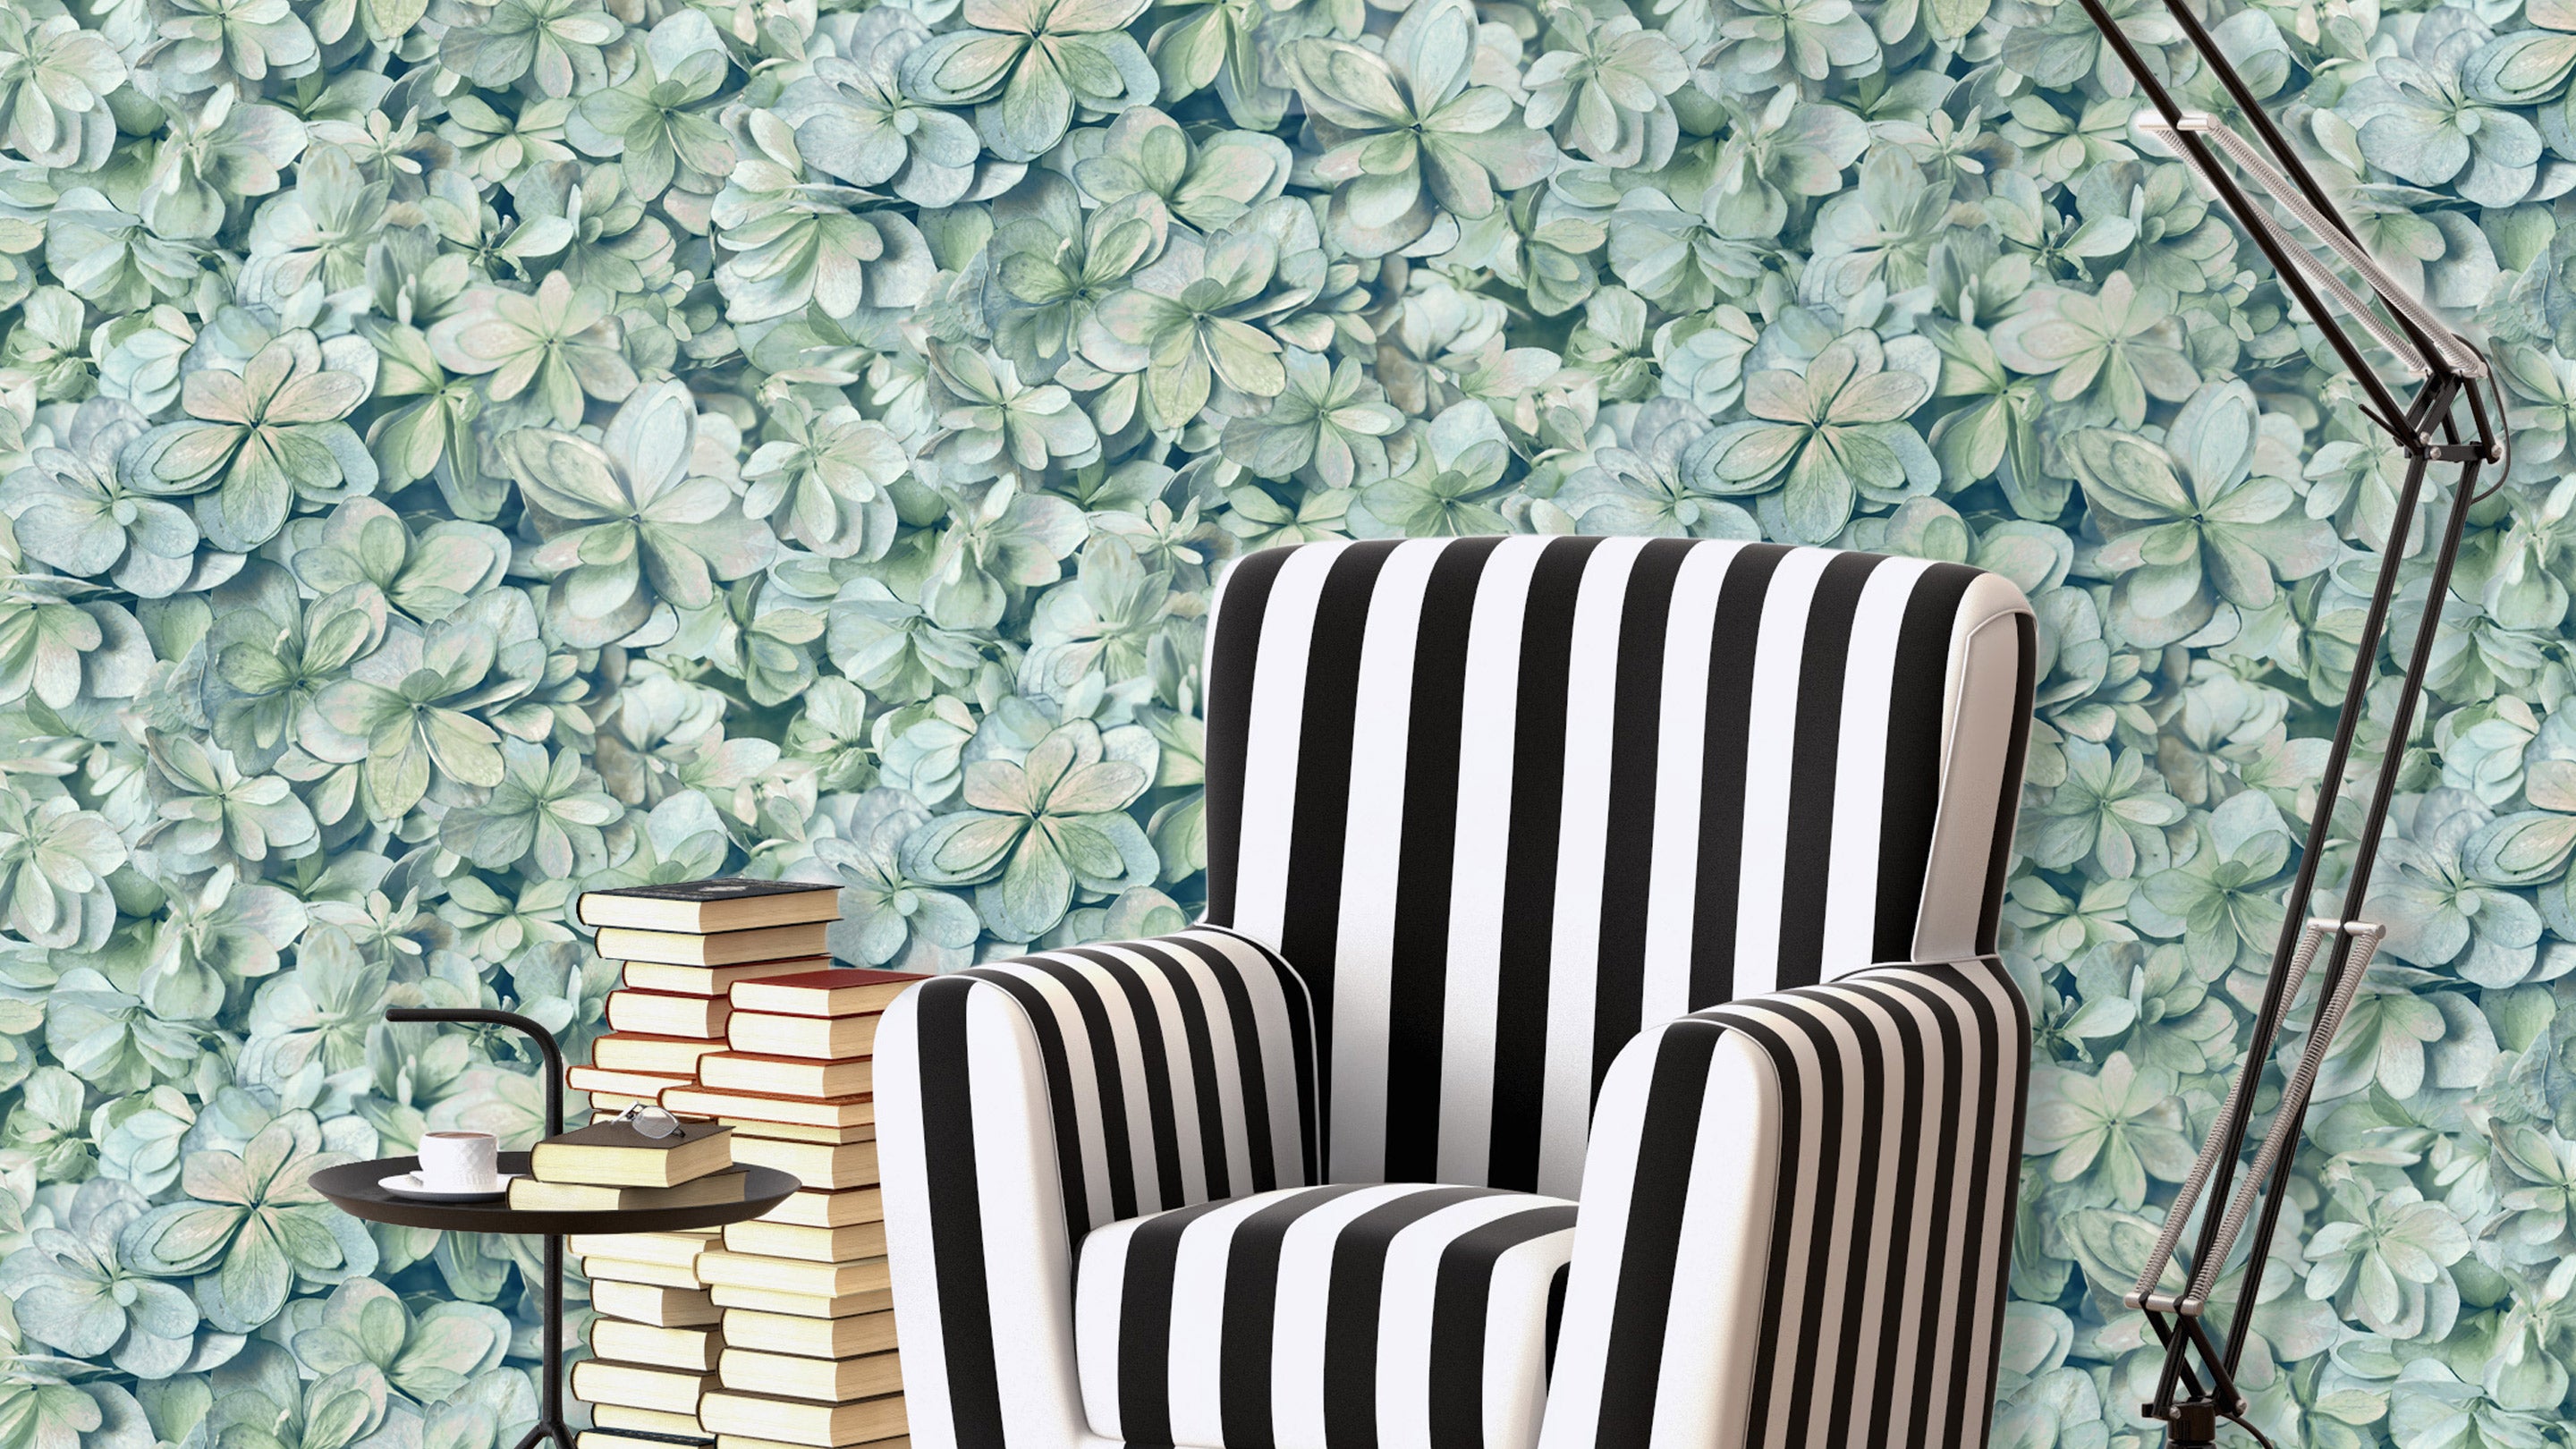
Get ready to learn how to hang Peel & Stick Wallpaper. Simply peel away and then stick anywhere. The best part is, it is completely removable and reusable. Meant for any smooth, flat surface including walls, doors, entryways, cabinets, stairs, furniture, frames, mirrors and more, never has decorating your space been easier or more fun. Follow our step-by-step detailed hanging instructions below to get started.
Gather The Recommended Tools
When applying Peel & Stick Wallpaper, we recommend the following tools:
- Sponge and gentle cleaner (to clean the wall)
- Tape Measure
- Level
- Steel Ruler or Straight Edge
- Razor Knife
- Scissors
- Pencil
- Plastic Smoother
Surface Preparation
For best results, clean, dry and smooth all surfaces. Product will not adhere to unclean or textured surfaces. Allow newly painted surfaces to fully cure for a minimum of 4 weeks before applying Peel and Stick Wallpaper.
How to Install Peel and Stick Wallpaper Step by Step
 |
 |
 |
Step 1 |
Step 2 |
Step 3 |
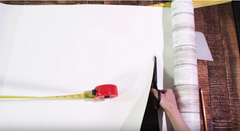
| Before you begin installing your peel and stick wallpaper, prepare your surface and clear the work area. Make sure electrical outlets are off and remove wall fixtures. For best results, clean and properly prepare all wall surfaces with a sponge and all purpose cleaner. Old wallcoverings and paste residue should be removed. | Beginning on the left side of your wall, measure out from the corner the width of the paper (20&1/2”) and mark the wall lightly with a pencil. Put your level on this mark and draw a straight, level, vertical line. This is the guide for your first strip, it is very important for it to be level. Remember to allow an extra inch or two for trimming both the top and bottom. | Pre-cut strips to fit wall height. Make sure to align any design from strip to strip when cutting. Number the back of each strip as you go to keep your design in the correct order (only if pattern requires it). Cut and trim product with a sharp razor knife changing the blade often to help maintain a smooth clean cut. |
 |
 |
 |
Step 4 |
Step 5 |
Step 6 |
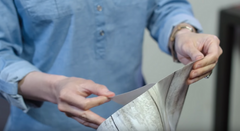
| Peel about 12” of the backing away from the paper. Apply the paper to the top of the wall, allowing a bit of excess to overlap the ceiling which will be trimmed off later. Align the right side of the strip to your mark and lightly press the edge to the wall along the mark. You can reposition if needed to ensure a vertical seam. | Working from top to bottom, pull the backing away as you evenly press the paper to the wall. Do not force, let gravity assist you. Be careful not to pull or stretch the material or the pattern will not align. For best results , have one person guide the paper at the top and along the seam, while another holds the opposite edge away from the wall until the seams are lined up. | Using a plastic smoother, work your way down the strip in a back and forth motion, smoothing the material to the wall and pushing out any air bubbles. Trim off excess material at ceiling and baseboard with a straight edge and sharp razor knife. |
 |
Step 7 |
| Repeat procedure aligning your next strip to the right edge of your previous strip. |
Watch How Easy it is to Install Peel and Stick Wallpaper
In this short installation video, watch how easy it is to hang peel and stick wallpaper, remove our peel and stick wallpaper and replace with a new pattern.