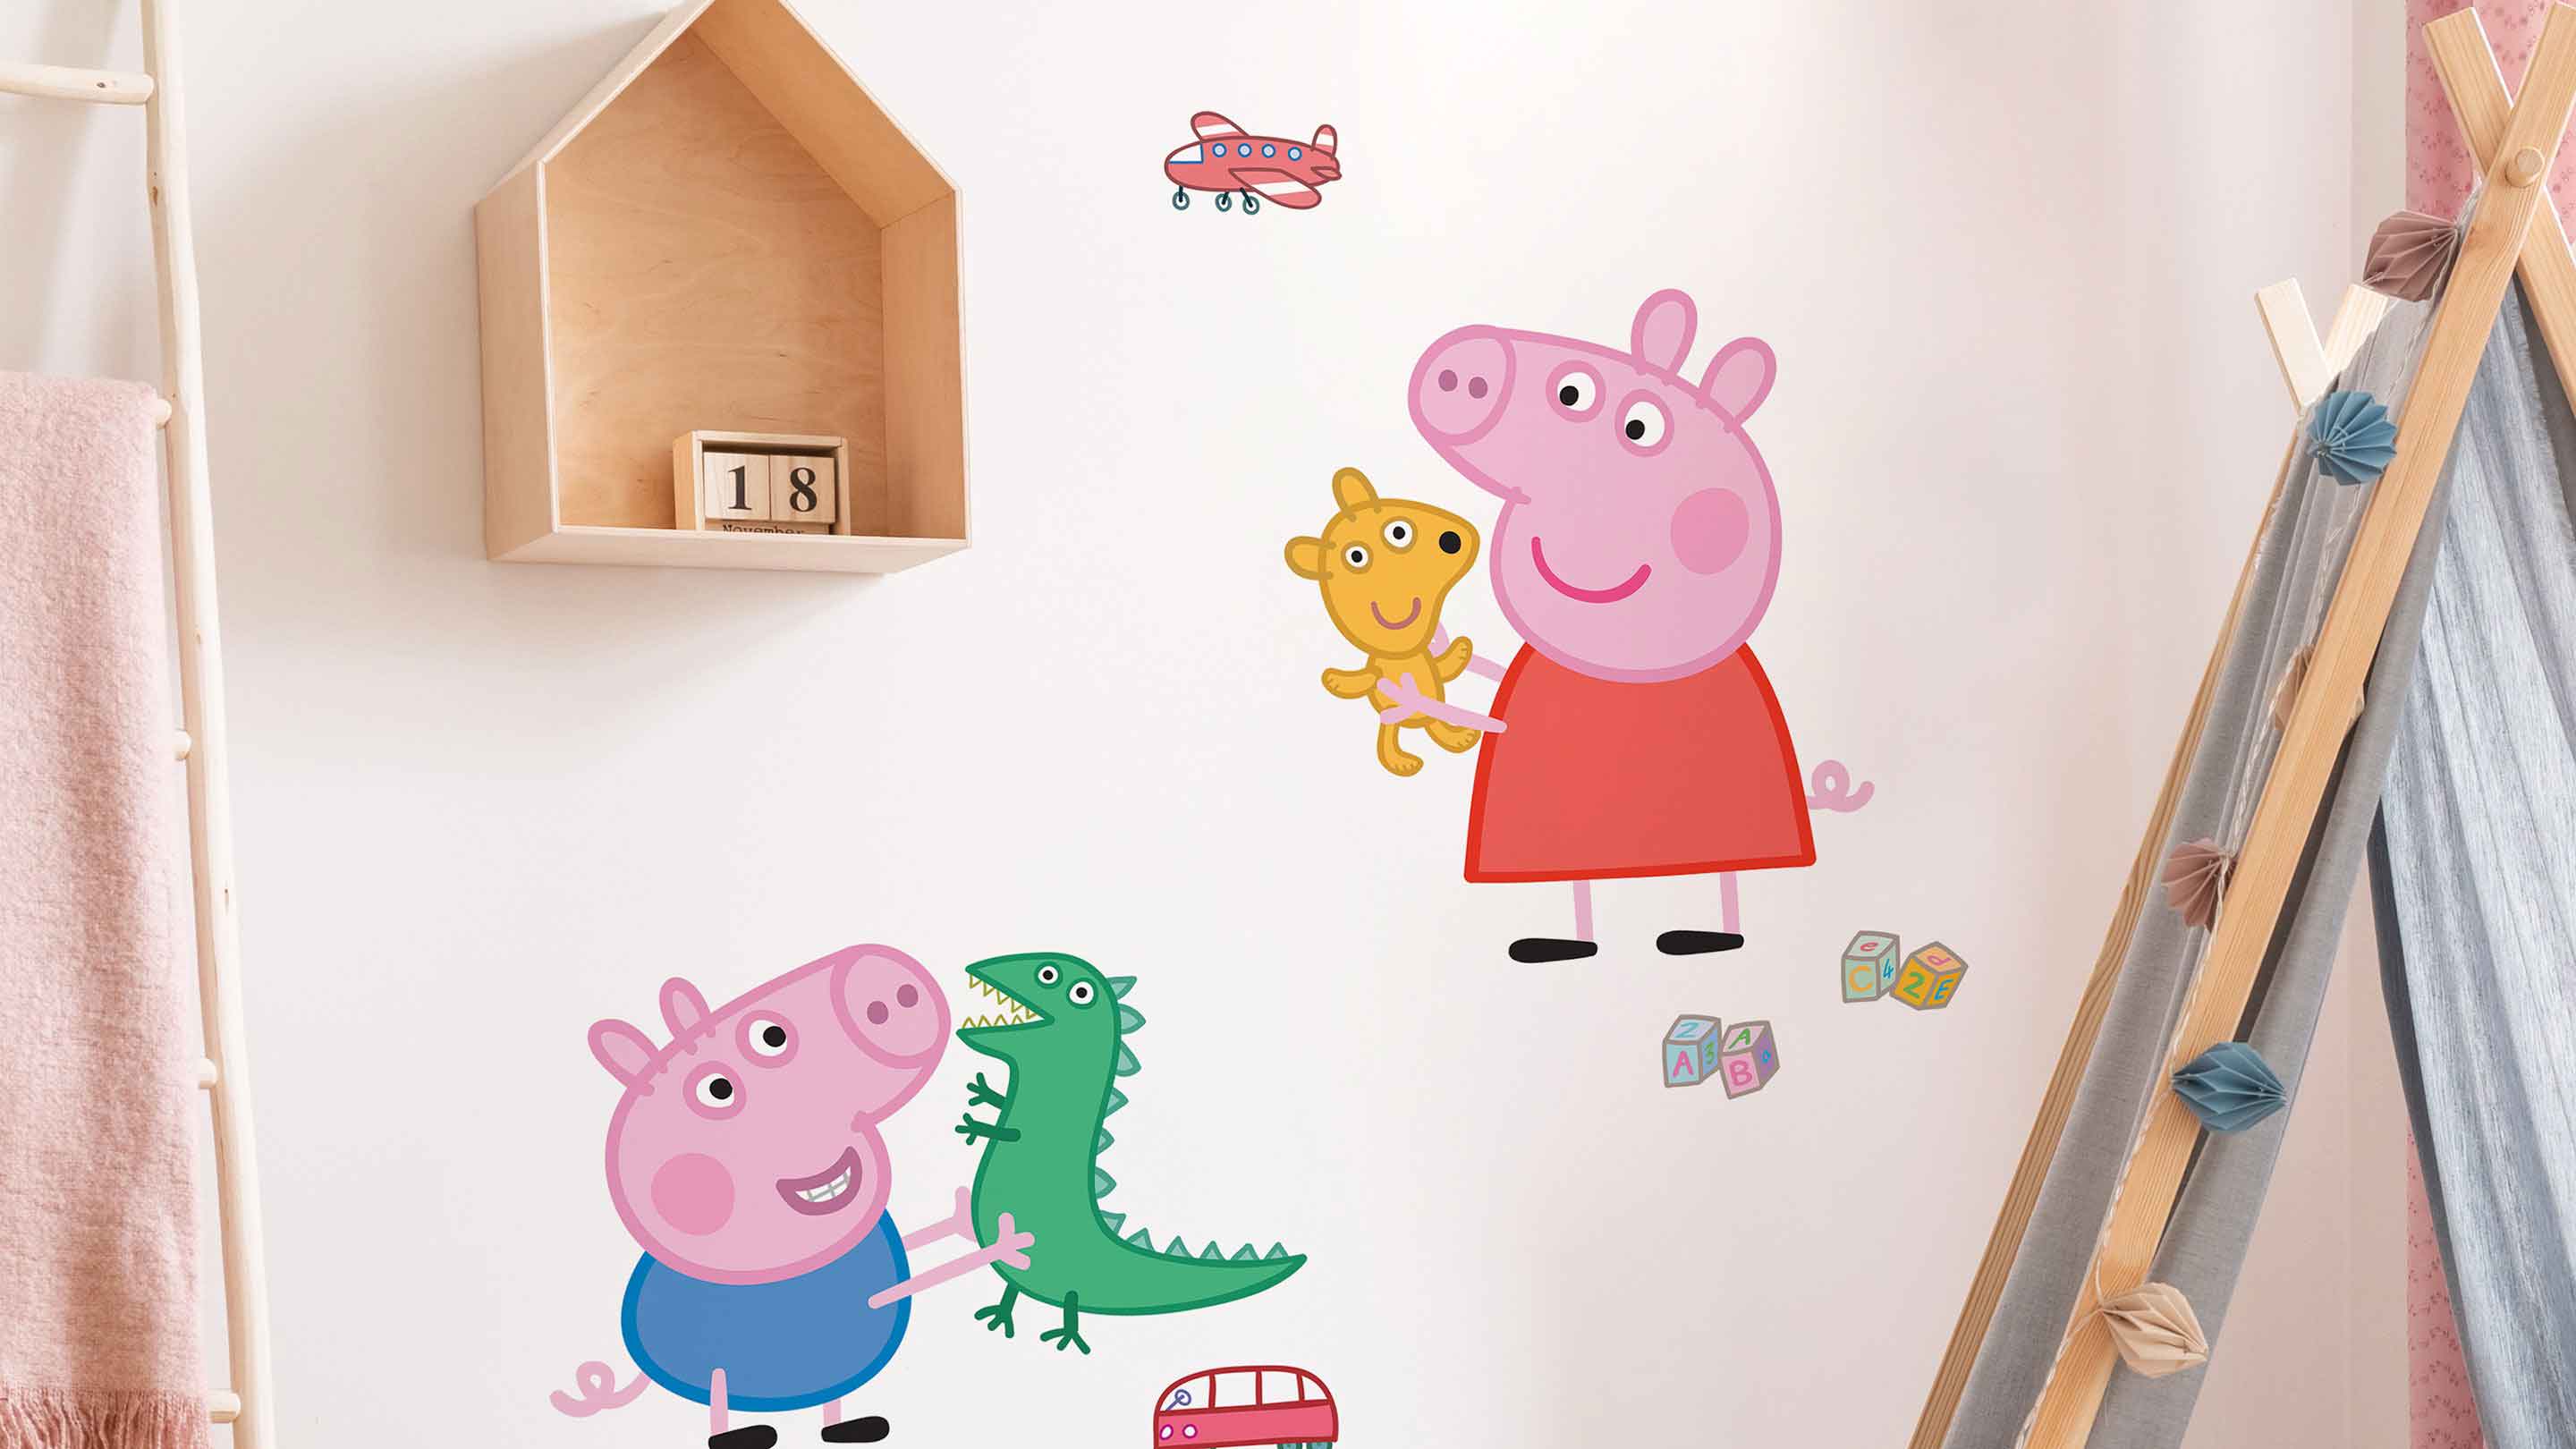
Peel and Stick Wallpaper Stair Riser Installation
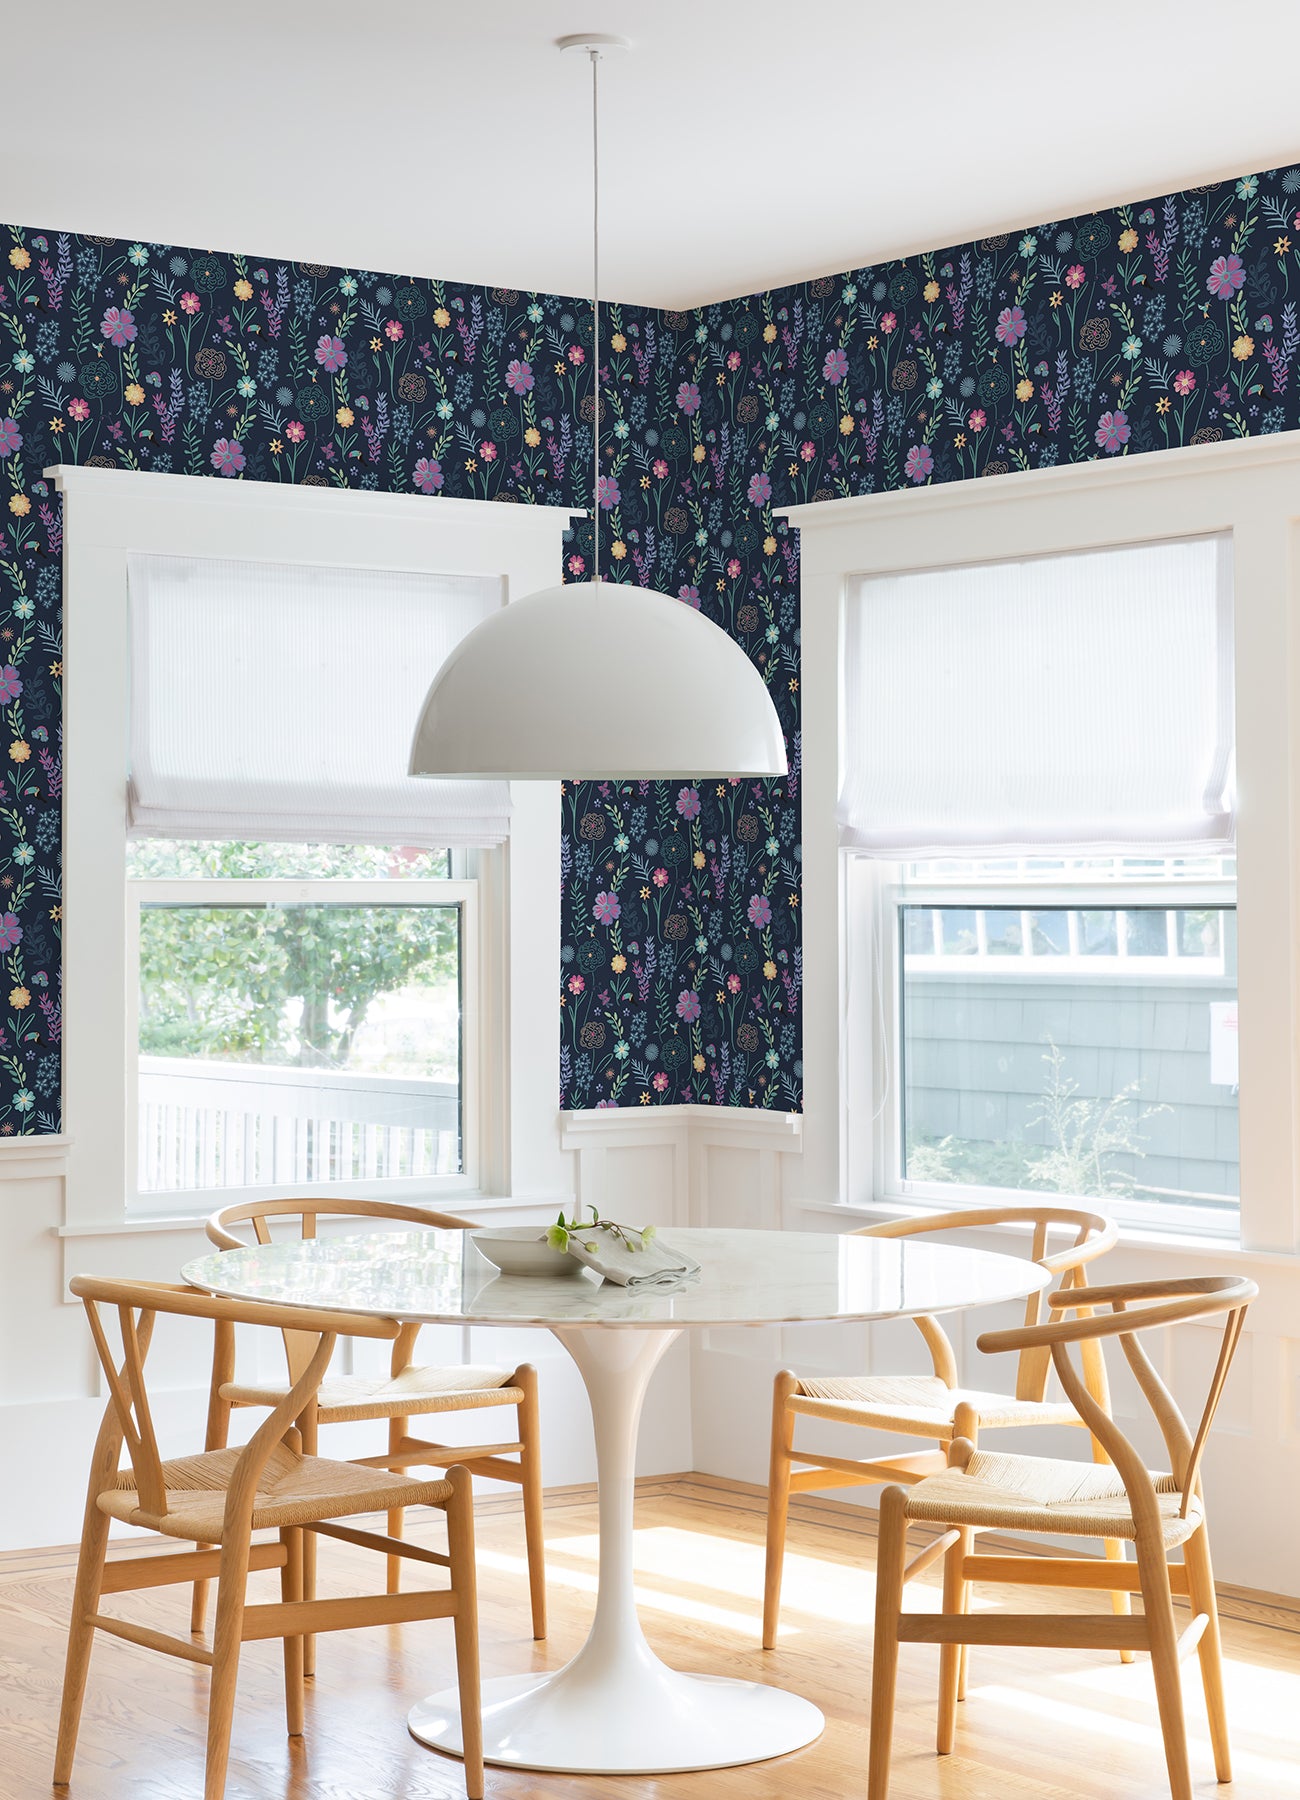
Looking to add a statement to the living areas of your home? An easy way to elevate a space is to install peel and stick wallpaper on your stair risers! Once you’ve picked out the removable wallpaper you want to install, here’s a quick and easy step-by-step tutorial to help you as you add this unique detail to your house.
1. Gather supplies
From start to finish, the supplies you will need to install peel and stick wallpaper to the back of your stair risers are as follows:
- Multi-surface cleaner
- Paper towels
- A ruler or smoother tool kit
- An X-acto craft knife or scissors

2. Clean the steps and backboard of the stairs
Before you start applying peel and stick wallpaper to the back portions of your stairs, they need to be cleaned. A clean surface limits the amount of dirt particles that could possibly get stuck to your removable wallpaper during the application process. Whether your stair risers are wood boards, primed drywall, or smoothed plaster, they will need to be cleaned.
First, sweep or vacuum the top part of the steps to remove larger pieces of debris. Next, use a multi-surface cleaner and paper towels to wipe down the backboards to remove existing scuff marks, hair in small cracks, etc. Allow the stairs to air dry before you begin applying.
3. Start applying the wallpaper
Every one of our peel and stick wallpaper rolls are 18 inches wide. Given that most standard stairwells are 36 inches wide, you may only have to make two passes of the paper. If your stairs are wider than 36 inches, you will have to cut pieces of wallpaper to finish each step. So here’s a tip!
Pro Tip: If you are right-handed, start applying your paper at the top step and work right to left, rather than left to right. If you are left-handed, work left to right. This will help you get a better angle when it’s time to cut the final pieces.
Pick your starting spot and now you're ready to start applying!
Once you have pulled the backing down slightly, line the paper up along the edge of the wall, use your smoother tool or ruler to adhere the paper to the backboard. Cut the paper at the bottom edge with your X-acto knife or scissor edge. Smooth one final time if needed. Repeat this process all the way down to the bottom stair.
Pro Tip: As you apply the paper to the back of each stair, do not pull too much of the backing off. If you remove too much, the paper could stick to the stair and pick up debris causing there to be bumps or imperfections in the next application.
4. Move on to the second pass and line the pattern up
When you are done with the first pass, you will begin the second. No matter which side you chose to start on, you will begin your second pass at the first step again. This time, find the next repeat of your pattern and line it up to match the first step you’ve completed. Repeat the smoothing and cutting process from the top to the bottom, continuously lining up the pattern to your completed row.
5. To finish, cut pieces to fill any final openings
If you managed to not have any leftover openings, you're done! But, if you aren't that lucky and need to fill in some gaps, here's how. If you worked right to left and you are right handed, it will be a little easier. Vice versa for left handed folks.
Match up the pattern to fit your final spot. Using your scissors or X-acto knife, cut your wallpaper to size, remove the backing, and smooth out. Repeat as necessary.
Here's what a set of steps looked like before and after peel and stick wallpaper was installed on the stair risers!

For more interior decor project ideas and inspiration, pop on over to the RoomMates blog! We have a ton of different ideas using peel and stick wallpaper to easily help you turn your house into a home.